 Learn how to naturally dye eggs in your Thermomix® with the TM6® Egg Boiler Mode, and get great tips for turning your eggs into artwork!
When naturally dyeing your eggs, use white eggs for the best results. You can also dye brown eggs, but expect a different shade of color. For a larger variety of colors, dye both brown and white eggs!
To ensure the eggshells absorb the color, get the kids to rub the eggs with a cloth soaked in vinegar. This roughens the shells and ensures the color adheres. Alternatively, place the eggs in a vinegar bath (1 tbsp vinegar to 33 oz water) for a few minutes before dyeing.
Before dyeing your eggs, try some of these tricks for an extra special effect:
Lines and Stripes - place rubber bands, wool or string of different sizes around the raw eggs. The place where the rubber band touches the shell will remain white/brown allowing the exposed shell to absorb the color.
Leaves and Flowers - collect small leaves, herbs, or flowers and place them directly on the shell of the raw egg. Carefully slip a nylon sock or cheesecloth over the egg and gather it at the opposite side, securing the flower to the egg. Twist the cloth to tighten and secure with a rubber band. The parts of the shell that are covered by leaves will not absorb the dye.
Designs and Letters - paint your eggs with lemon juice. Dip a cotton swab in freshly squeezed lemon juice and carefully paint small designs or letters on the eggshell. When you dye the eggs, the spots that have the lemon juice will not be colored.
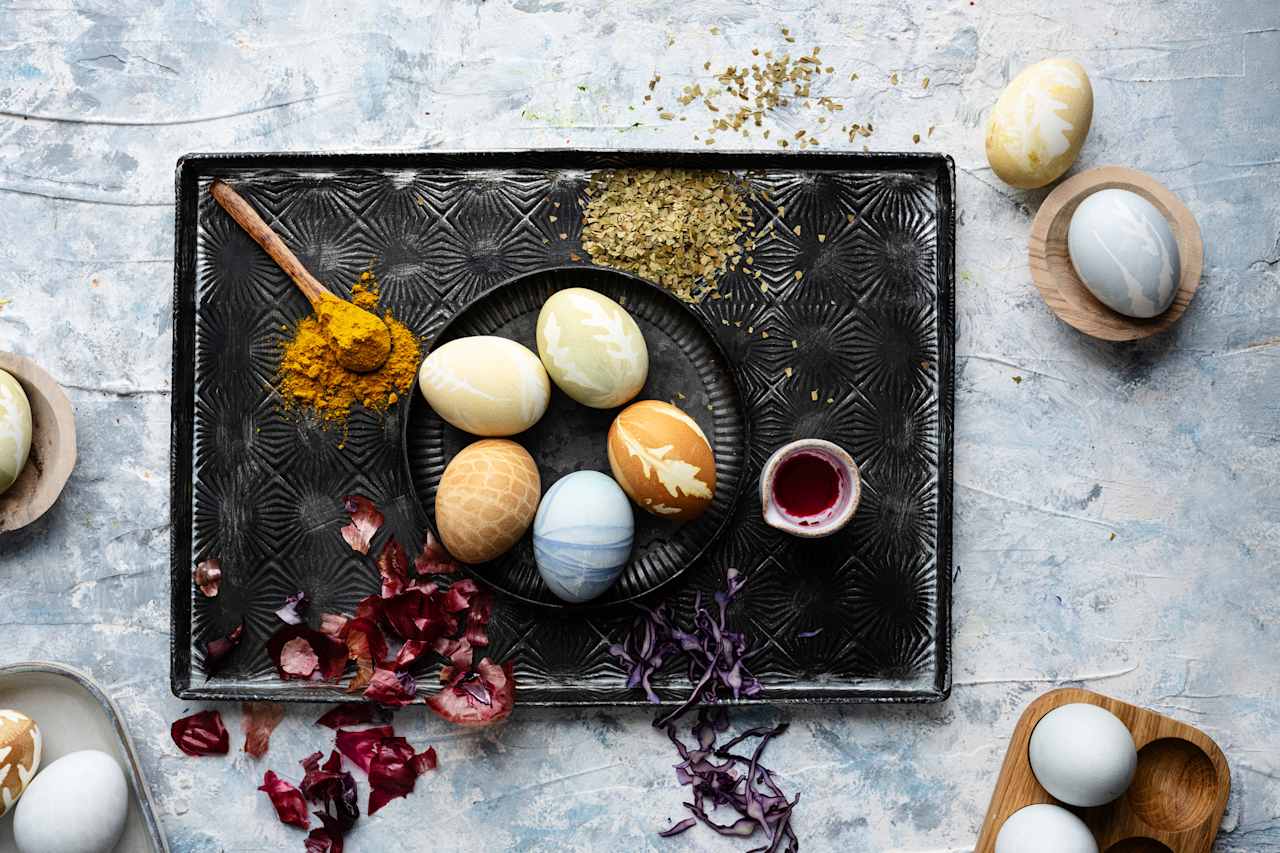
Decide what color you want to dye your eggs. Then, use the Thermomix® to create natural dyes and TM6® Egg Boiler Mode to hard boil your eggs!
For red try: Golden Brown Dyed Eggs with beet juice
For light blue try: Light Blue Dyed Eggs with red cabbage
For yellow try: Yellow Dyed Eggs with turmeric
For orange try: Orange Dyed Eggs with red onion
For green try: Green Dyed Eggs with matcha powder
• Follow the recipes above to dye your eggs different colors. For each color, place the water, eggs and coloring ingredient directly in the mixing bowl and use the Egg Boiler Mode to hard boil your eggs (some dyeing ingredients need to be chopped beforehand, like red cabbage).
• If you prefer a deeper color, place the eggs back in the liquid to soak for a few minutes, hours, or even leave them overnight in the dye.
• If you used rubber bands or flowers and nylons for the dyeing process, wait for the eggs to cool completely before removing!
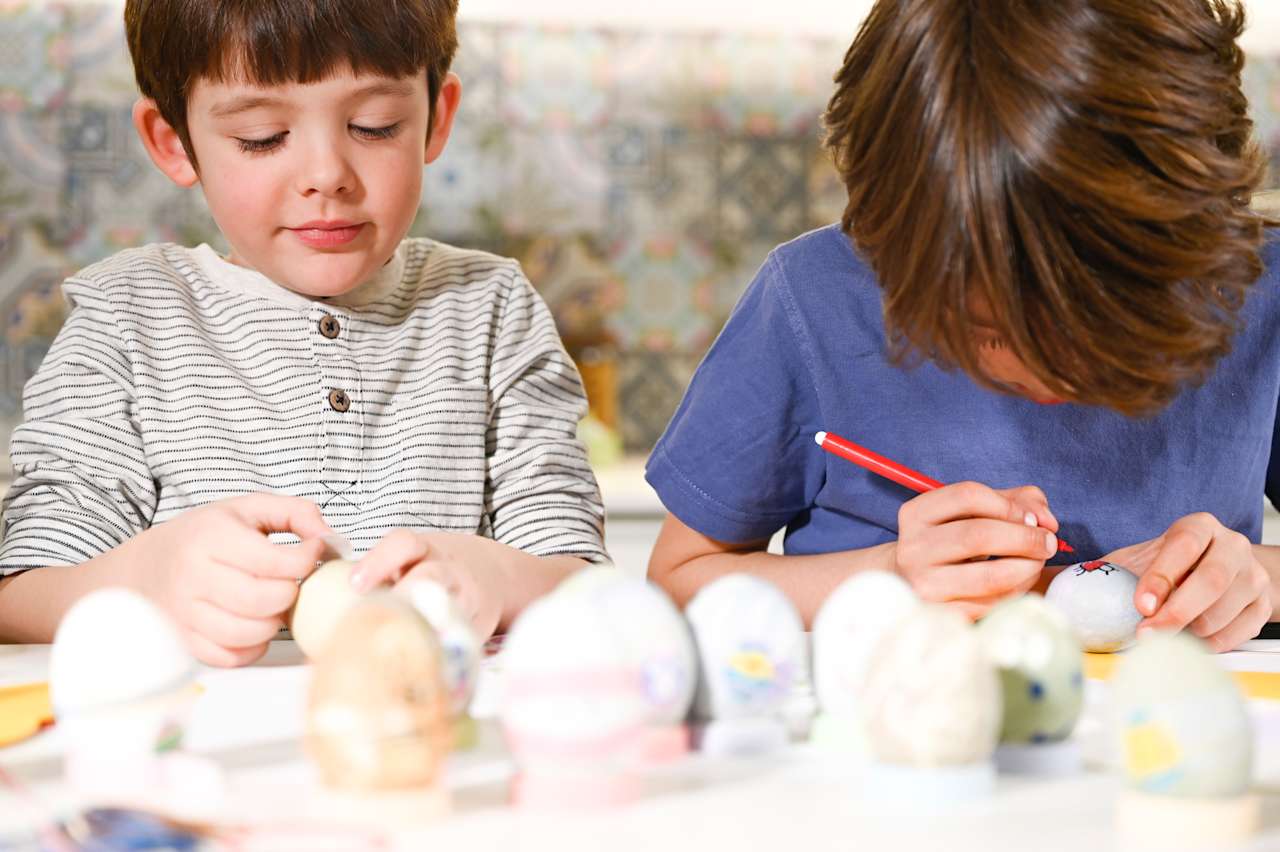
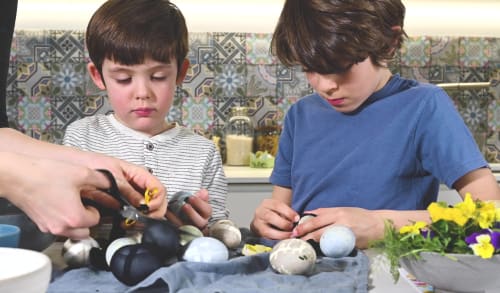
After your dyed eggs have cooled completely, get out some art supplies so the kids can add some personal and creative touches.
If you want your eggs to have a nice shine, rub the eggs with a soft cloth and some vegetable oil.
Use food-safe felt pens to draw on the eggs. Try drawing little bunny or chick faces on the dyed eggs then use colored paper to cut out and glue on bunny ears or chick beaks!
If you plan to consume the dyed eggs, store them in the refrigerator and consume within 1 week.