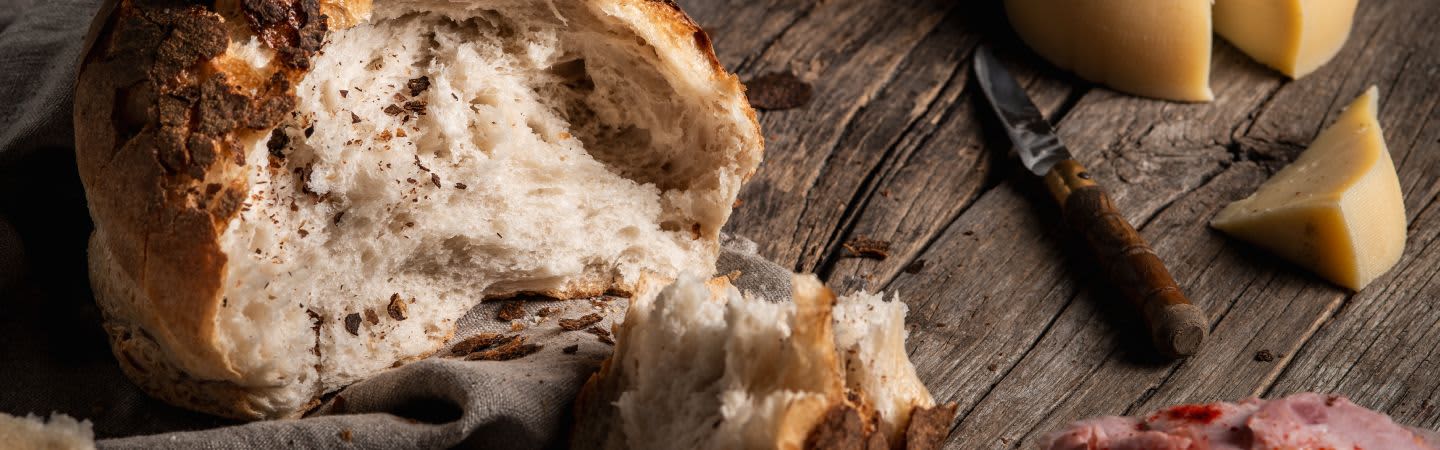
Technique is what guides us here. Not because bread is complicated, but because the smallest choices can shape everything that follows.
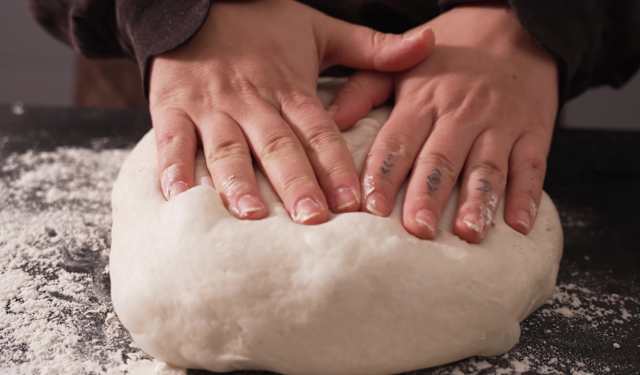
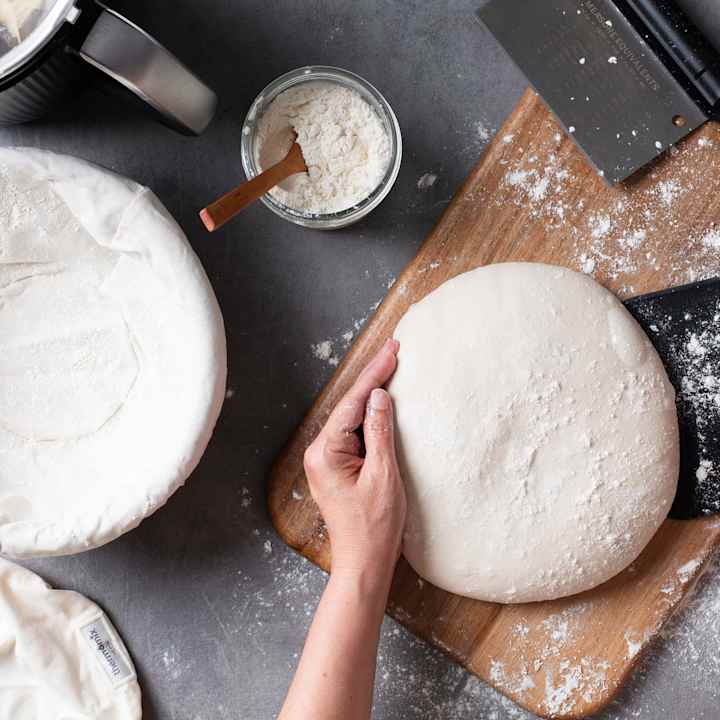
The dough tightens with a soft sigh beneath your fingertips, like smoothing a blanket. There’s no need to rush. Stretch, tuck, rest — each movement a quiet sign of the loaf to come. We build a little tension and give it support, then shape the dough as gently as you would cradle a sleepy child.
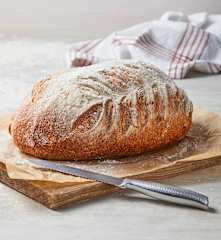
After that, the oven takes over. Steam kisses the surface, the center keeps breathing, and the room fills with the familiar sound of crust forming. When you tap the loaf and it answers with a hollow sound, you’ll smile — quietly and with a full heart.
Wheat loves a thorough knead. It develops a strong gluten structure that stretches without tearing and rises with confidence. Rye, on the other hand, does not build the same kind of network. It’s best mixed gently and then left to hydrate. It may feel sticky at first, but it will come together in time. All it asks is a little patience.
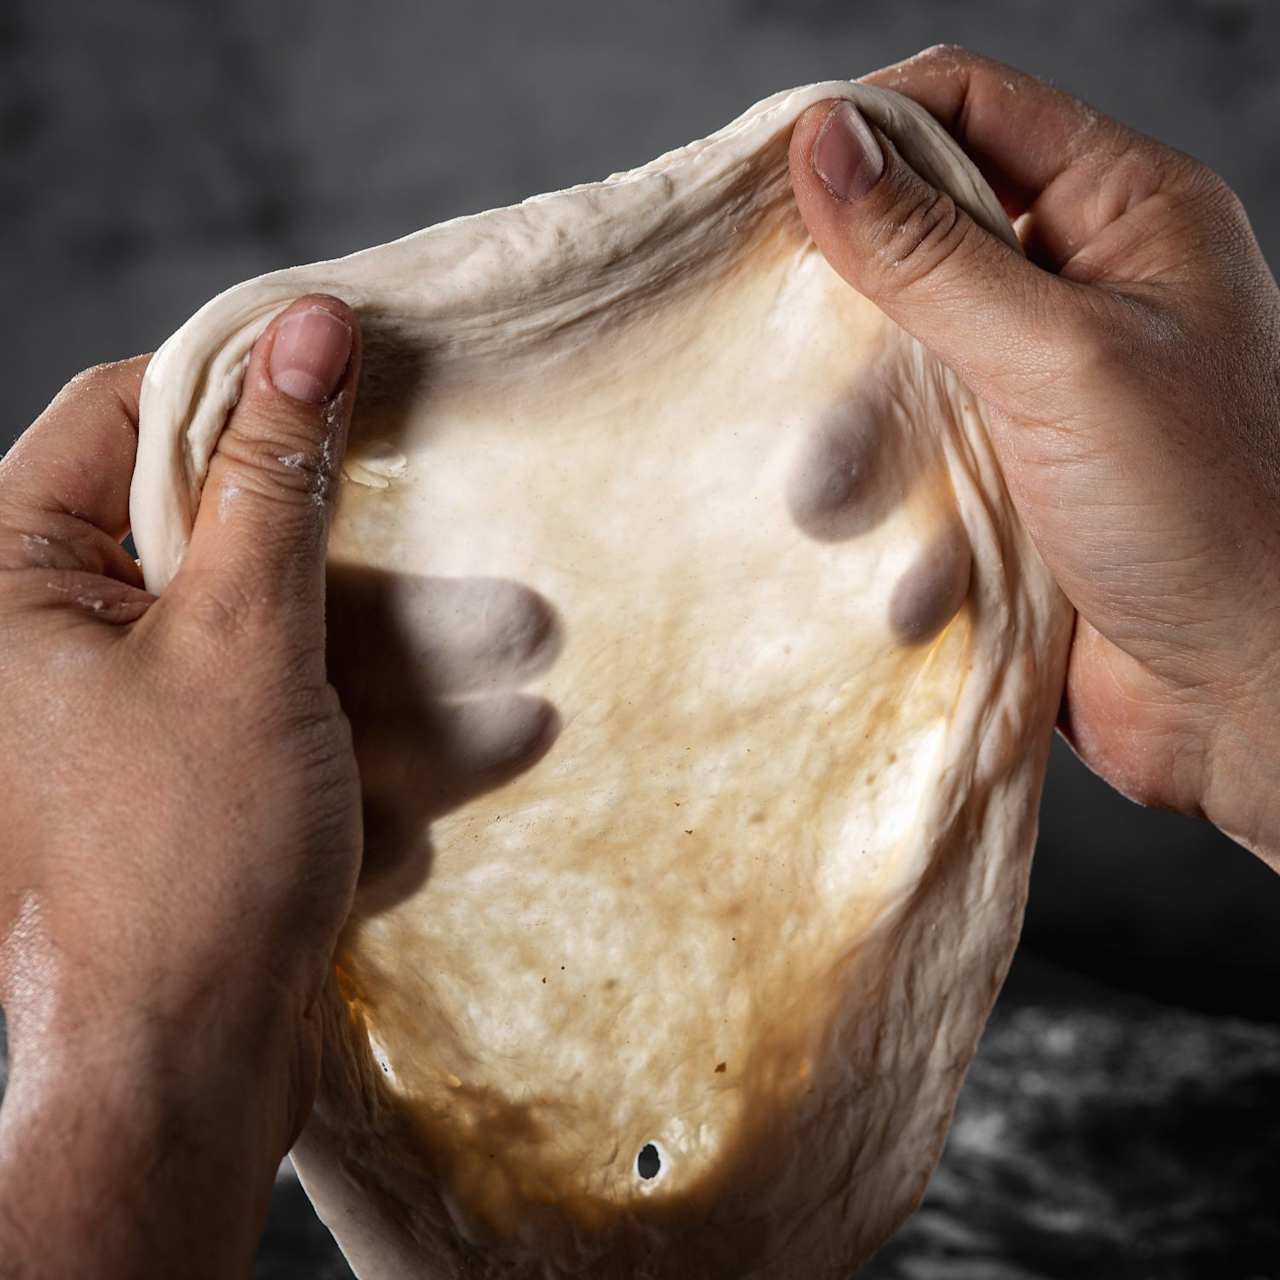
If you're wondering whether the wheat dough is ready, pinch off a small piece and stretch it slowly. If it becomes thin and translucent — almost like a windowpane — instead of tearing, that’s your sign that the gluten is fully developed.
Mixing and Kneading
Wheat vs. rye structure
• Wheat: Builds a strong gluten network and benefits from thorough kneading.
• Rye: Develops little to no gluten network, so it’s best mixed gently rather than kneaded intensively, then given time to hydrate.
Windowpane test
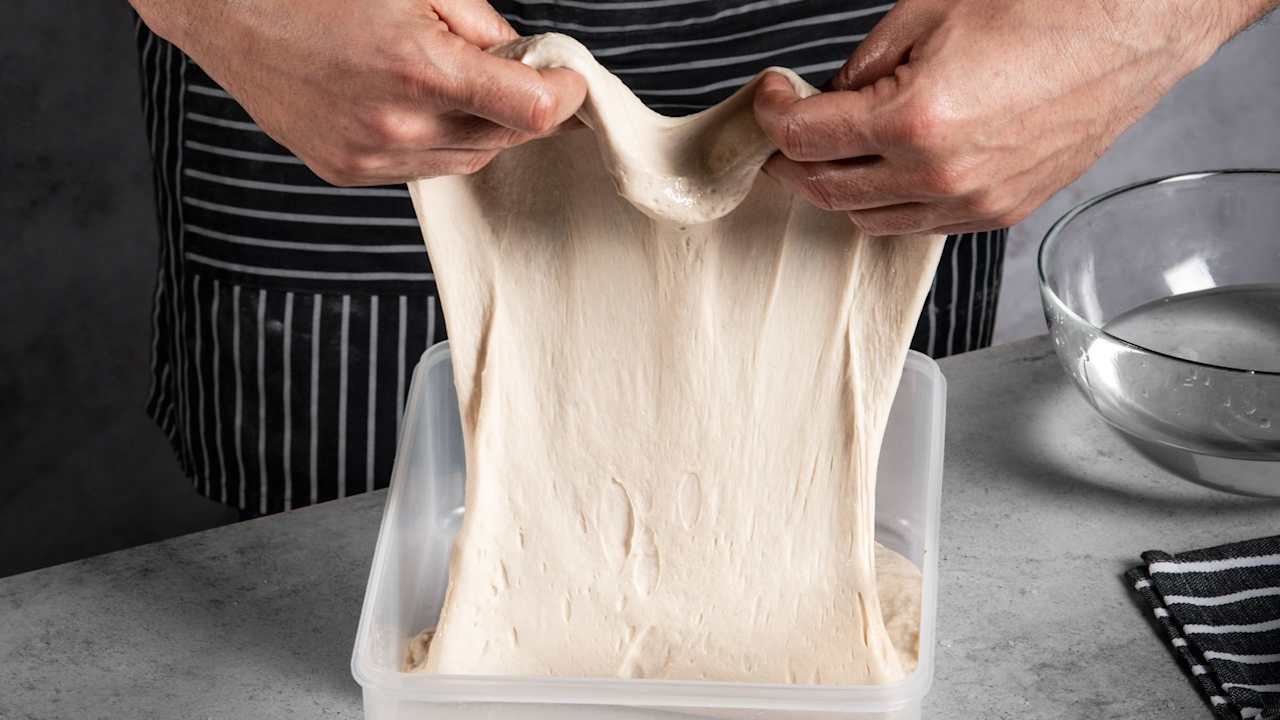
Folding is our chance to have a little chat with the dough during it's first rise. We do this a few times, about 30 to 60 minutes apart. With lightly wet hands, lift the dough from front to back, then back to front, then fold in each side, gently bringing it over itself. Each fold builds surface tension and adds strength, helping the dough hold its shape. Then comes shaping, the moment you decide what form the loaf will take.
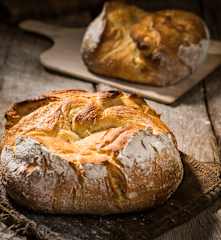
• Boule (round): Round the dough to create a smooth, taut ball.
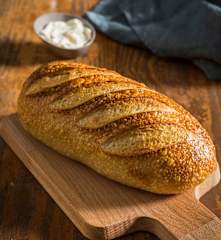
• Bâtard (oval): Fold the top and bottom toward the center, then roll gently to elongate.
• Baguette: Divide the dough, pre-shape it, let it rest briefly, then fold and roll it in stages to build surface tension. Proof on a well-floured baker’s cloth.
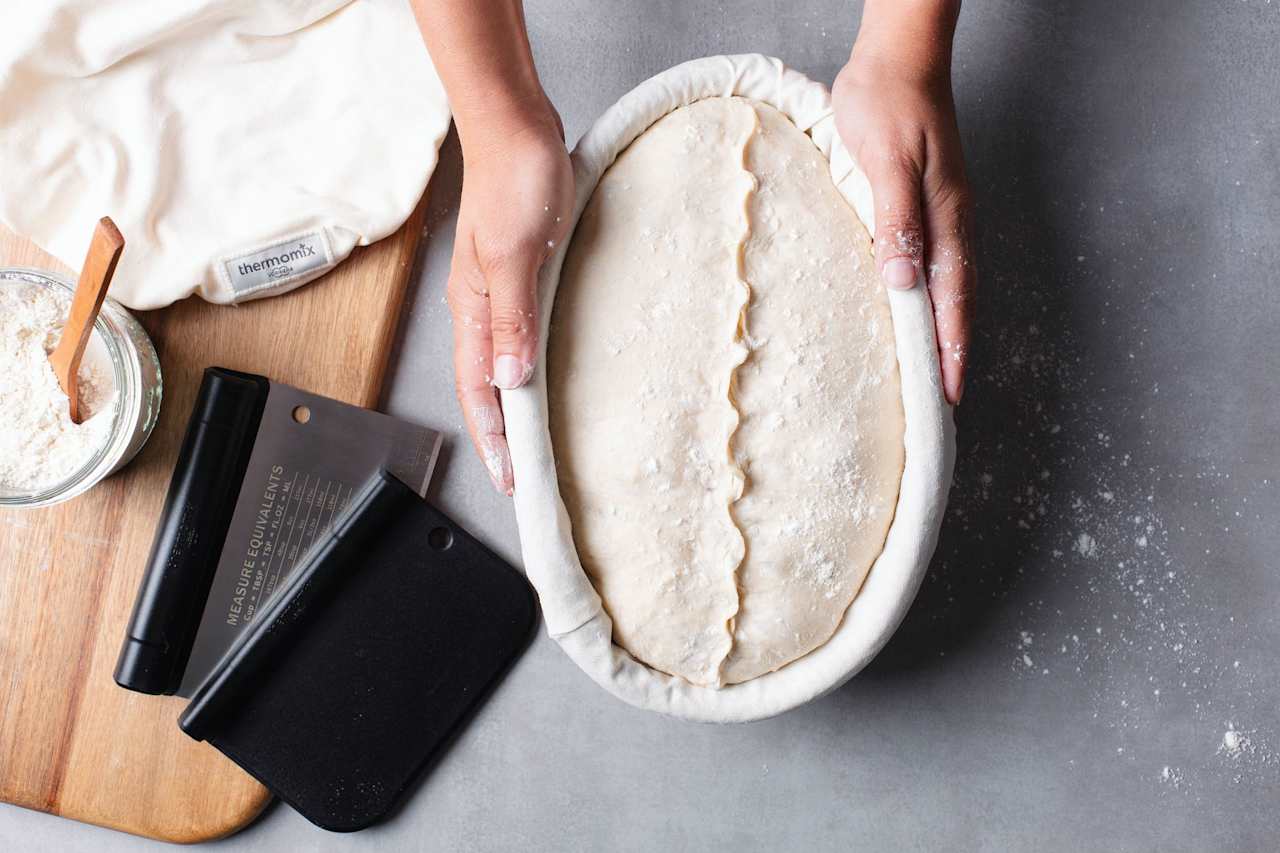
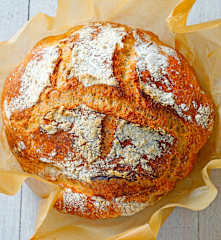
• Seam-side up proofing → rustic, naturally cracked look.
• Seam-side down proofing → smoother surface; score before baking to help direct the rise.
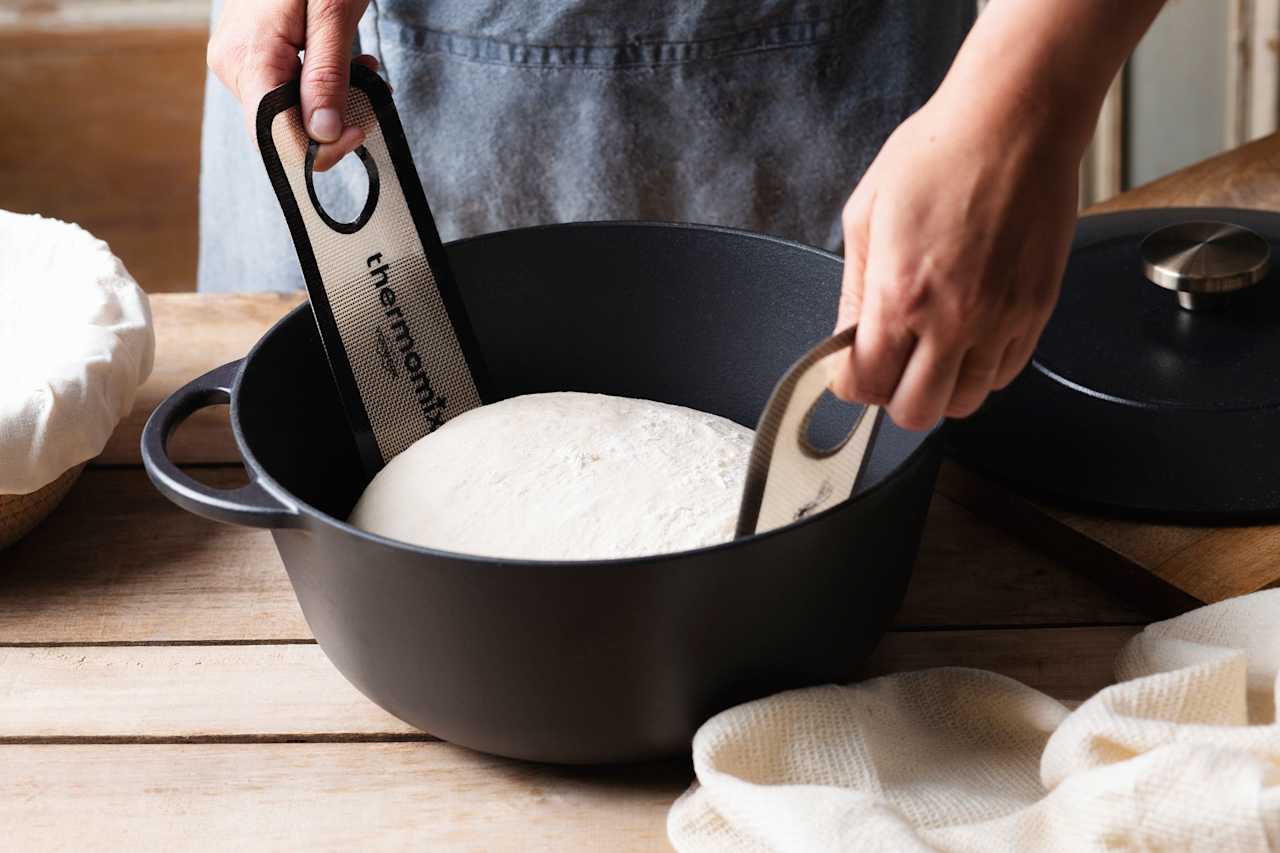
When it’s time to bake, the oven becomes our partner.
If you're baking on a stone or sheet pan, steam is the key. Preheat the oven thoroughly with a metal pan on the bottom rack. Slide the loaf in, add a small splash of water – just enough to create steam – and close the door quickly. After 10 to 15 minutes, vent the steam so the crust can deepen in color and turn crisp.
Or use a Dutch oven. Preheat both the pot and the oven, then carefully lower the dough inside – Thermomix® bread sling is a lifesaver here – and bake with the lid on for about 15 minutes before uncovering to brown.
At around 450 °F, treat the pot with the respect you'd give a dragon: oven mitts on, a safe place ready to set it down, and no sudden moves.
Practical Guide
Quick Troubleshooting Guide:
• Dense crumb: The dough may be underproofed or under-kneaded. Give it more bulk fermentation time or knead until the dough passes the windowpane test.
• Flat loaf: This can mean there wasn’t enough surface tension, or the dough may have over-proofed. Try adding another round of folds, shaping more tightly, or proofing a little less.
• Pale crust: The oven may not have been fully preheated, or there may not have been enough steam. Be sure to preheat thoroughly, create steam at the start, and vent it at the right time.
How do you know it's done? Turn the loaf over and tap the bottom; a hollow sound is the old baker's sign.
If it needs a bit more crunch, just pop it back in the oven for 5 to 10 minutes, out of the pan. Then let it cool on a rack. It’s tempting to cut into it right away but giving it time lets the crumb set and the aroma fully develop.
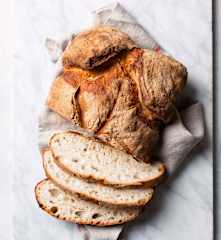
Rye loaves are often best the next day. For everyday storage, wrap your bread in a cloth or keep it in a linen bag. For longer storage, slice and freeze it in an airtight bag. When you’re ready to enjoy it again, warm it in the oven at about 400°F for 10 to 15 minutes, or toast slices straight from frozen to bring back the crust and aroma. Smaller rolls can be warmed gently at 250 to 300°F for about 10 to 15 minutes.
If the dough feels too firm or loose, reserve a little water – about 0.5 to 1 oz – and add it gradually during kneading. This helps you find the right level of hydration and keeps the dough smooth and supple.
Practical Guide
Hydration Control:
Come a little closer and listen — that’s the crust singing as it cools, a quiet percussion that tells you the loaf has a voice of its own. As you mix, fold, shape, and bake, you begin to find a rhythm that feels like home. And when you tap the bottom and hear that hollow answer, you’ll smile quietly, with a full heart, knowing that simple care has become something worth sharing. There’s more to discover as the story continues. We’ll be baking again soon.